SSH Login and Security Hardening on Linux Servers
My recent SSH experiments on a VPS involved public-network timeouts, private-key permission errors, and port changes that systemd did not pick up. This article combines several Obsidian notes in the order of getting connected, hardening access, and coordinating firewall rules.
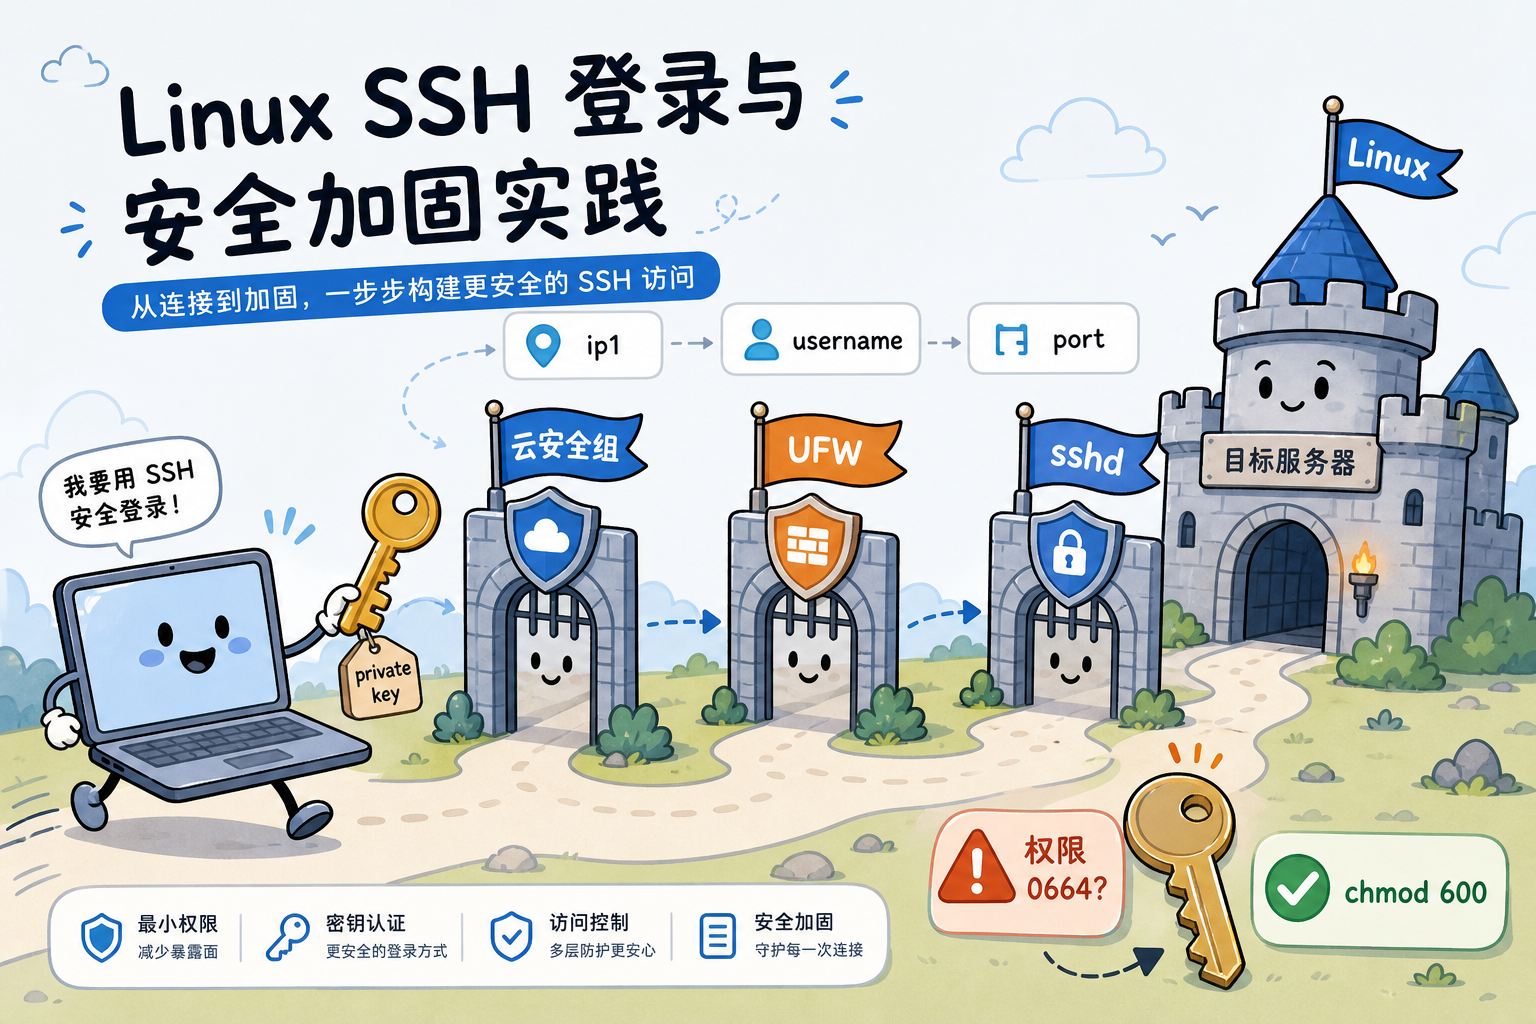
IPs are represented by ip1, ip2, and similar placeholders, for example ip1 for the server and ip2 for an allowed source. The domain xxx.xxx.com, ports such as 22222, and username are also example placeholders, not a real environment. Replace them with your own values.
The four elements of SSH login
Think of remote login in terms of four values:
| Element | Meaning | Common default |
|---|---|---|
| IP / hostname | A publicly reachable address | Scanners probe address ranges at random; it cannot truly be hidden |
| Port | TCP port | 22 |
| Username | Login account | Often root |
| Credentials | Password or key | There is no default password; keys require a local private key and a server-side public key |
Hardening can change the port, username, and authentication method. A common combination is keys instead of passwords, no root login, and a non-22 port.
Connection failures: timeouts and troubleshooting
A typical error:
Possible causes:
- SSH is not on port 22 — Specify
-p <PORT>. - The cloud security group does not allow the connection — Allow your IP or source range in the provider’s console.
- A VPN or jump host is required first — Internal servers often cannot be reached directly over SSH from a dormitory or home connection. Connect to the VPN or jump host first, then
sshto the target.
Confirm both the port and the username.
The public-network path is roughly cloud security group → local firewall (UFW) → sshd. A block at any layer can produce a timeout or rejection.
A pitfall: overly permissive private keys
OpenSSH can refuse to load a private key before login even begins:
Cause: permissions 0664 allow the group and other users to read the private key. OpenSSH treats that as a potential exposure and refuses to use the key rather than risk it. This login therefore has no usable private key.
Fix: restrict access to the owner, tightening the directory permissions if needed:
| Path | Suggested permissions |
|---|---|
~/.ssh/ | 700 |
| Private key | 600 |
Public key *.pub | 644 is usually acceptable |
Server-side ~/.ssh/authorized_keys | 600 |
Public keys uploaded to the VPS should not have an extra suffix such as .txt; rename them if necessary. The notes also recommend chmod 600 for the server-side public-key file.
Changing the SSH port with systemd and UFW
A cautious order: add the new port first, verify it, and only then remove the old one.
- Append a new
Portinsshd_config, keeping the old port temporarily. - Run
daemon-reloadand restartssh.socket/ssh.service. - Check the new listening port with
sshd -Tandss. - Allow the new port in UFW and the cloud security group.
- Open a new terminal and try connecting through the new port.
- After confirming access, remove the old rules and close port 22.
Editing the sshd configuration
Add a line, for example adding 9753 alongside the existing 22222:
sshd_config configures the sshd server: listening ports, root login, password authentication, and more. In nano, use Ctrl+O to save and Ctrl+X to exit.
Why Ubuntu also needs ssh.socket updated
Ubuntu often uses systemd socket activation for SSH: ssh.socket listens first, then hands the socket to sshd in ssh.service. Editing sshd_config alone is not enough; the generator must update the socket configuration with the new ports:
| Action | Configuration on disk | Unit in memory | Kernel LISTEN socket |
|---|---|---|---|
Only change Port 9753 | New | Old | Old |
daemon-reload | New | New; generator updated | May still be old |
restart ssh.socket | New | New | New; bind recreated |
Check which ports the configuration says should listen:
Check which ports the system actually listens on:
ss -tlnp selects TCP, listening sockets, numeric ports, and process information. Remember: listening locally does not mean reachable publicly. UFW and the security group also matter.
Allowing the new port in UFW
UFW is Ubuntu’s firewall frontend. Traffic passes through:
Check the status:
inactive: UFW is disabled; only the security group and sshd apply.active: incoming traffic is filtered according to the rules.
Interpreting the output:
| Column | Meaning |
|---|---|
| To | Port exposed on this server |
| Action | ALLOW permits traffic; DENY / REJECT blocks it |
| From | Anywhere means any IP; rules can instead allow only your home IP |
Allow the new port:
9753/tcp ALLOW IN means the rule is present. Common maintenance commands:
Users, root restrictions, and key-based login
- Create a non-root user — Use
sudo adduser username. On Debian/Ubuntu, install sudo withapt install sudoif needed and configure sudo-group access usingvisudo. Follow least privilege rather than assigningNOPASSWDeverywhere. - Disable root SSH login — Set
PermitRootLogin noinsshd_config. - Use keys and disable passwords — Generate a key pair locally, preferably Ed25519, avoiding DSA; see the next section for ECDSA/Ed25519 notes. Put the public key in the server’s
~/.ssh/authorized_keys, and set:PubkeyAuthentication yesPasswordAuthentication no
Reload or restart after configuration changes, and keep an already authenticated session open so that you do not lock yourself out.
A brief guide to key algorithms
| Type | Notes |
|---|---|
| RSA | Common, with longer keys; usable but not the only choice |
| DSA | No longer secure; do not use it |
| ECDSA | Short and fast; the algorithm has attracted more debate |
| Ed25519 | One modern default recommendation, with public documentation and good performance |
systemd and SSH: two units
systemd is the init and service manager, PID 1, on most modern distributions. For SSH:
- ssh.service runs the
/usr/sbin/sshdprocess. - ssh.socket lets systemd listen first and activate the service, known as socket activation.
A simplified relationship:
Unit files live under /usr/lib/systemd/system/ for package definitions and /etc/systemd/system/ for local overrides. systemctl cat ssh.service shows the combined definition. For port changes, remember that Ubuntu needs a reload and a socket restart, not just systemctl restart ssh.
Summary
| Stage | Key points |
|---|---|
| Cannot connect | Check the port, security group, and VPN/jump host; all three layers must allow traffic |
| Private-key errors | Use chmod 600 for the private key and 700 for .ssh; OpenSSH rejects overly open keys |
| Port changes | Add before removing; verify with sshd -T and ss; update UFW and the security group together |
| Hardening | Non-root users, disabled root login, key authentication, and a non-default port |
These are learning notes, not a production checklist. Practice on a test machine first, and always retain a login path that will not leave you locked out.