Installing a Custom Linux Kernel in a Virtual Machine
This article has one goal: compile and install a custom kernel in Ubuntu running inside VMware, then load a .ko module I wrote myself.
Compilation and kernel replacement both happen in that virtual machine. They consume CPU, memory, and disk space and involve GRUB. Unstable networking can interrupt long builds or SSH sessions; without booting the new kernel, the module will not match the running version. The order is therefore static IP first, custom kernel second, and module last.
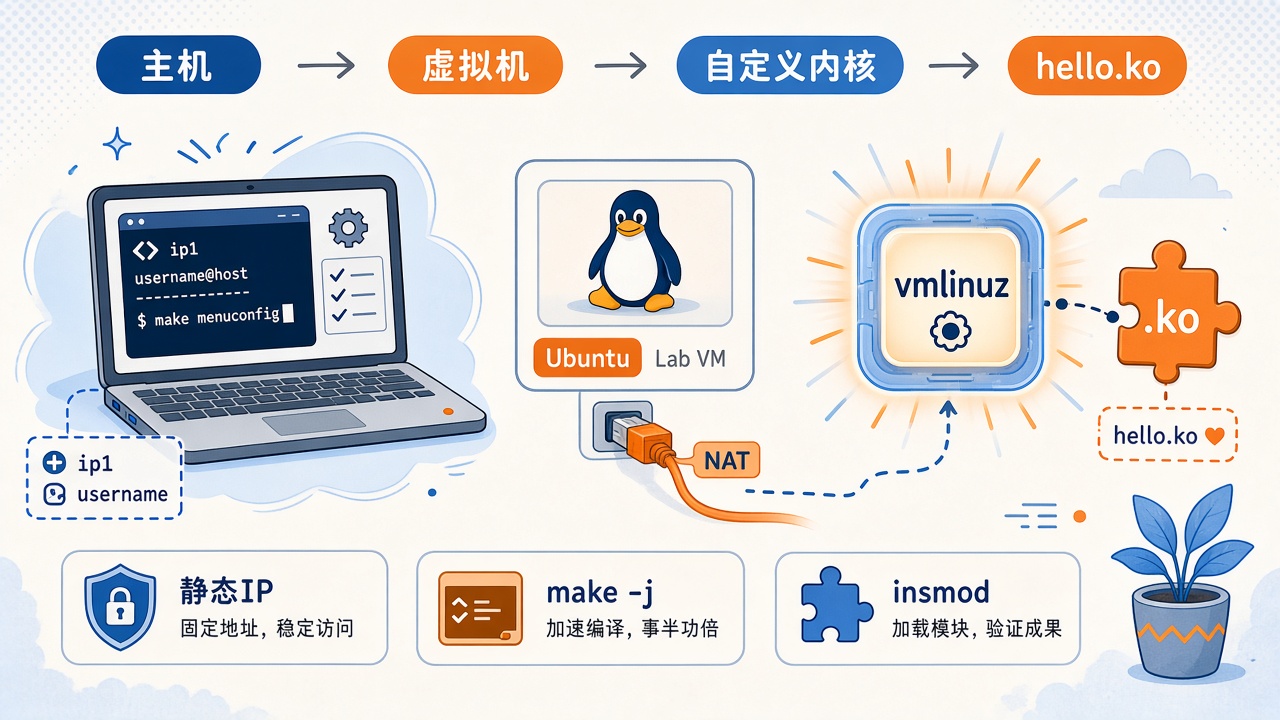
ip1 is the host’s address on VMnet8, ip2 is the NAT gateway, and ip3 is the virtual machine’s static address. These and username are placeholders. Use the actual subnet shown in your Virtual Network Editor.
Why compile the kernel in a virtual machine?
The kernel is the innermost operating-system layer, managing CPU, memory, disks, network adapters, and process scheduling. Terminals, browsers, and apt run in user space. They cannot directly access hardware and instead ask the kernel through system calls such as read, write, and mmap.
| Layer | Examples | Access |
|---|---|---|
| User space | bash, browsers, Python | No direct hardware access |
| Kernel | vmlinuz, scheduler, drivers | The layer that directly operates hardware |
| Hardware | CPU, memory, network adapters, disks | — |
uname -r prints the currently running kernel version. A later .ko build must use headers and an ABI matching that kernel, so booting the custom kernel first is not optional in this experiment.
My host runs Windows. Although I have also installed Ubuntu in a dual-boot setup, replacing its kernel could affect existing software dependencies. I therefore created a separate VMware machine for this experiment. Builds still consume disk space and time, but snapshots provide a way back without experimenting on my everyday environment. First, give this machine a static IP so DHCP address changes do not interrupt SSH during a long build.
Configuring a static IP for the virtual machine
VMware’s VMnet8 uses NAT by default: the virtual machine accesses the network through the host. A network adapter can communicate directly only with devices on its own subnet; traffic outside it goes through the default gateway. The path is:
Record the VMnet8 subnet and gateway
Open Virtual Network Editor and select VMnet8:
| Field | Meaning | Placeholder here |
|---|---|---|
| Subnet IP | NAT subnet, such as x.x.x.0 | The subnet itself |
| Gateway IP | Virtual network gateway, usually .2 | ip2 |
Then check Windows: Control Panel → Network and Sharing Center → Change adapter settings → VMware Network Adapter VMnet8. The host’s address on this network is usually .1, called ip1 here.
| Adapter | Purpose |
|---|---|
| VMnet0 | Bridged networking into the physical LAN; usually no subnet is assigned in the editor |
| VMnet1 | Host-only; DHCP is available by default, without Internet access |
| VMnet8 | NAT; virtual machines access external networks through the host |
If you use ip1, the host, as the gateway instead of ip2, the NAT gateway, a common symptom is being able to ping Windows but not reach the Internet.
Configure static IPv4 in Ubuntu
Settings → Network → IPv4 → Manual:
- Address:
ip3, on the same subnet; avoid.0,ip1,ip2, and the DHCP pool. - Netmask:
255.255.255.0, a 24-bit prefix. - Gateway:
ip2. - DNS: use a public resolver such as
8.8.8.8or223.5.5.5. This specifies the domain-name resolver, not your machine’s IP.
Open a new terminal and check:
The output should include ip3. The lab machine now has a fixed address for the hours-long kernel build.
Compiling and installing a custom kernel
A kernel does not have to be one giant binary. Features can be built in, [*]; built as modules, [M], producing .ko files loaded when needed; or omitted, [ ]. Use lsmod to view loaded modules.
Prepare the source and .config
Check the current kernel and select a nearby version from kernel.org. The example uses 5.15.221: if uname -r shows 5.15.0-139-generic, choosing 5.15.x is simpler than jumping across major versions.
| tar option | Meaning |
|---|---|
-J | xz compression |
-x | Extract |
-v | List filenames |
-f | The archive filename follows |
make olddefconfig supplies defaults for new options in an existing .config without an interactive questionnaire. It only updates the configuration; it does not compile the kernel.
The upstream kernel.org source does not include Ubuntu’s two certificate files. Clear their paths so the configuration does not point to nonexistent files:
| Option | Original purpose |
|---|---|
CONFIG_SYSTEM_TRUSTED_KEYS | Build trusted CA certificates into the kernel for module-signature verification and related uses |
CONFIG_SYSTEM_REVOCATION_KEYS | Build revoked certificates into the kernel |
To confirm that you booted your own build, add this line near the start of start_kernel() in init/main.c. Line numbers vary by version.
Compilation and disk space
The first build takes a long time. Ensure the virtual machine has enough CPU cores, memory, and free disk space. Check space first:
My observations:
| Configuration | Disk space |
|---|---|
| Keep default debug information | A 40G virtual disk was insufficient |
| Disable debug information before rebuilding | About 30G was enough to finish |
If space is insufficient, disable debug information and run make olddefconfig again:
Then build, keeping -j at or below the virtual machine’s CPU-core count:
The source root should contain modules.order after the modules finish building. GCC’s role here is straightforward: compile .c source into machine code for the kernel and its modules.
Expanding a disk after it fills up
If compilation fills the root partition, do not immediately shut down to expand the virtual disk. Shutting down with no free system space may leave Ubuntu unable to reach the desktop, with a black screen.
While you can still access the system, free some space first, for example by removing temporary files or incomplete build artifacts. Then shut down and enlarge the disk in VMware settings. Expanding the disk only increases the .vmdk; the guest sees the extra capacity as unallocated space. A partitioning tool must add it to the filesystem.
- If Ubuntu still boots, install and open GParted and extend the root partition into the unallocated space.
- If the screen is already black and the system will not boot, start from an Ubuntu installation image, choose Try Ubuntu, and use GParted in the live environment to extend the root partition into the new unallocated space.
Free space first, shut down second, and expand the virtual disk third. Expanding only after shutting down a full system commonly leaves it unbootable, requiring Try Ubuntu from a live USB or image.
Install, update GRUB, and verify
After rebooting, the new kernel should be available. Following make install, GRUB’s first entry is usually the newly compiled version.
To enter BIOS and change boot settings, power off the virtual machine and append bios.forceSetupOnce = "TRUE" to its .vmx. This is a one-time setting reset to FALSE after boot. If Windows hides extensions, use File Explorer → View → Show → File name extensions.
The custom printk message should appear in the kernel log. Check:
This stage is complete only when uname -r shows 5.15.221, or your chosen version, and dmesg contains the Hello message. The module below uses uname -r to locate /lib/modules/…/build, so reach this point before proceeding.
Writing and loading a kernel module
A module runs inside the kernel without requiring a rebuild of the entire kernel. insmod loads it into the currently running kernel, so use the kernel’s Kbuild system rather than gcc hello.c -o hello. The build tree is /lib/modules/$(uname -r)/build.
Source and Makefile
Create hello_module.c in a clean directory:
Copying from a web page can introduce non-breaking spaces, NBSP. gcc may treat a trailing NBSP on an #include line as an extra token or report a leading NBSP as stray '\302'. Use ordinary spaces.
Create a Makefile in the same directory. Recipe lines must start with a Tab, not spaces.
| Fragment | Meaning |
|---|---|
obj-m | Build a .ko module: m means module, while obj-y builds into vmlinuz |
-C .../build | Enter Kbuild for the currently running kernel |
M=$(PWD) | Module source is in the current directory, outside the kernel tree |
$(shell uname -r) | Automatically match the version installed in the previous section |
Load and unload
A successful load produces Hello, Kernel! in the log, and unloading produces Goodbye, Kernel!. The Entering directory line in the build log should point to the kernel source/build installed above, not another build tree supplied by the distribution.
Summary
| Step | Result | Why the next step needs it |
|---|---|---|
| VMnet8 static IP | Fixed ip3 with working NAT Internet access | The address stays stable during long builds and SSH sessions |
| Successful custom-kernel installation | uname -r shows your own build | Modules must match the running kernel’s ABI |
hello_module.ko and insmod | Hello appears in dmesg | Confirms that the complete kernel-and-module experiment works |
If insmod fails next time, first check uname -r and ls /lib/modules/$(uname -r)/build. Confirm that you are not still running the distribution kernel and that the Makefile points to the correct build tree.